For the floor framing we decided to use pressure treated 2x6 wood (called ACQ- Alkaline Copper Quaternary- this is the type of pressure treated wood that is readily available for use). Because it's important for the wood to be water resistant we thought this was a good decision. If we were to do it again we would have shelled out for cedar instead. After we started making the frame we learned that the chemicals used in the pressure treated wood corrodes metal (ie fasteners and connectors), not to mention that they are terrible for your health on a molecular level. Also, the ammonia in the wood caused the wood to bend and warp quite a lot making it really difficult to work with.
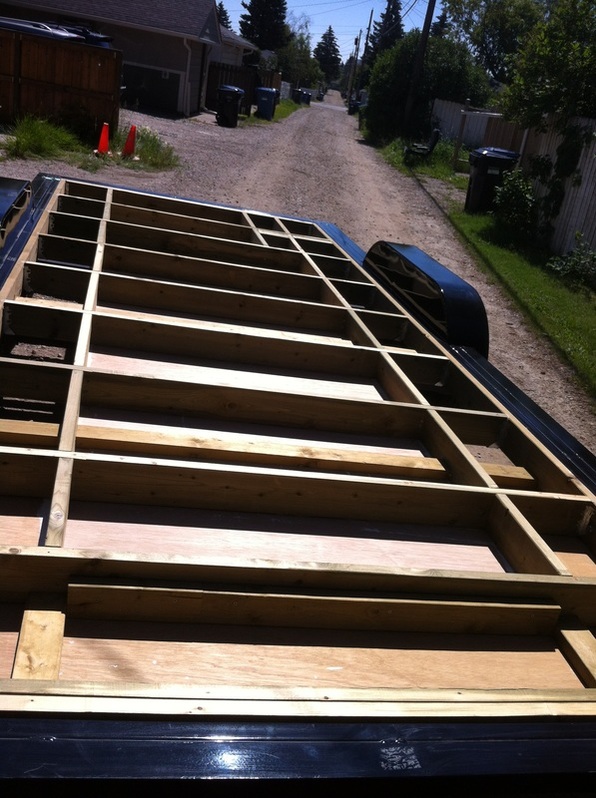
 Basic floor frame with pressure treated wood.
 We researched what grade of fasteners/connectors to use that would not corrode and we learned that any connectors (joist hangers) or fasteners (nails and screws) need to be a bare minimum of a hot dipped galvanized coating of G185 and the best option is stainless steel type 304 or 316 (yet this option is quite expensive and hard to find). If we had of used cedar opposed to pressure treated wood it would have been better for our health, been easier to work with, and regular connectors and fasteners would have sufficed.
We were able to find stainless steel bolts to fasten the frame to the trailer, but we couldn't order stainless steel connectors and fasteners to install the floor joists so we had to use the hot dipped galvanized.
Since there is a chance the fasteners in the floor may corrode we planned the frame to have two channels on the outsides. This was so that when we attached the plywood underneath we could do it in sections. In the future we can remove the panels and check to see if the connectors need to be replaced without having to open up the entire floor.
Since there is a chance the fasteners in the floor may corrode we planned the frame to have two channels on the outsides. This was so that when we attached the plywood underneath we could do it in sections. In the future we can remove the panels and check to see if the connectors need to be replaced without having to open up the entire floor.
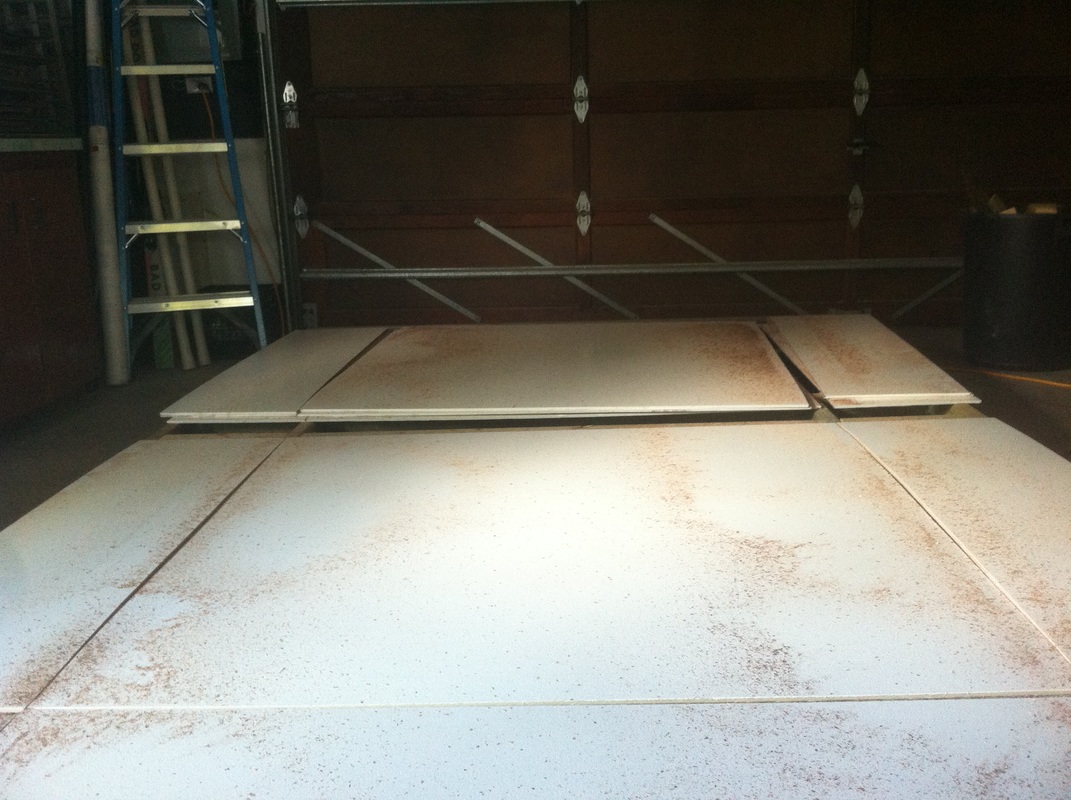
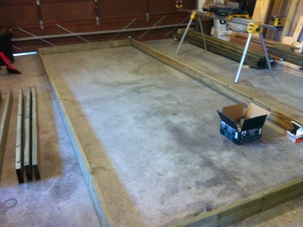
Maranti plywood (marine grade) with two coats exterior primer, one coat of marine paint cut into sections for the channels.
Having the channels also gave us a natural place to have our in-floor plumbing. Many tiny houses have their drain lines on the outside, underneath the house. Because we live in Calgary and it goes down to -40 degrees in the winter we were worried about our pipes freezing. Having the plumbing inside our insulated floor seemed like a better option.
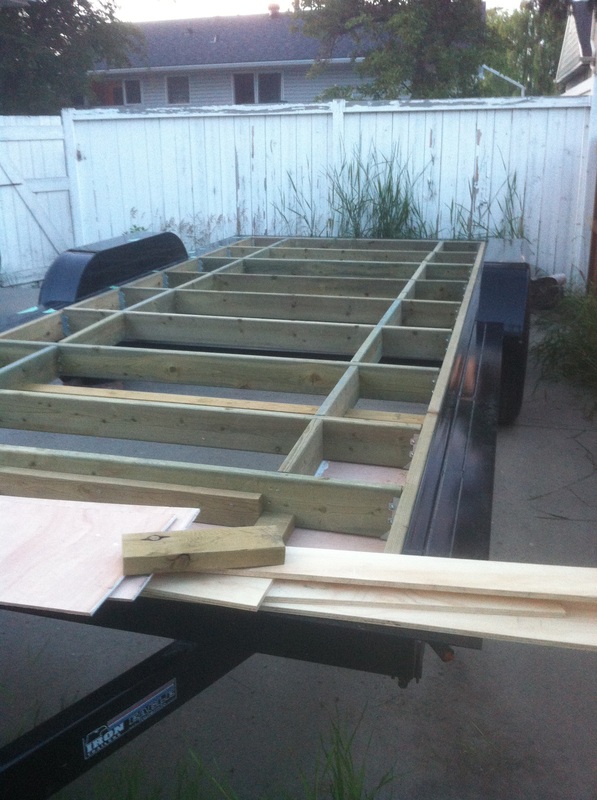
 Floor frame with the channels on either side.
 Another issue we came across when framing our floor was the conflicting information on the internet. When reading “Go House Go” (a great resource so far) we were lead to believe that when using an Iron eagle trailer we should frame the floor separately then lift it into the trailer and fit it into place. However, after framing our floor separately, we called the trailer manufacturer and they informed us that we were supposed to build the floor framing by fastening the two longest boards (stringers) to the trailer and then installing the joist hangers and then finally the joists like you would on a typical deck floor.
Oops. Luckily we were still able to disassemble parts of the floor and install it onto the trailer with relative ease. Success!
Here is the floor framing with the marine grade plywood attached.
What we learned here is if you buy a trailer with the specific purpose of building a home on, make sure to contact the actual trailer manufacturer for specific floor installation instructions.
 RSS Feed
