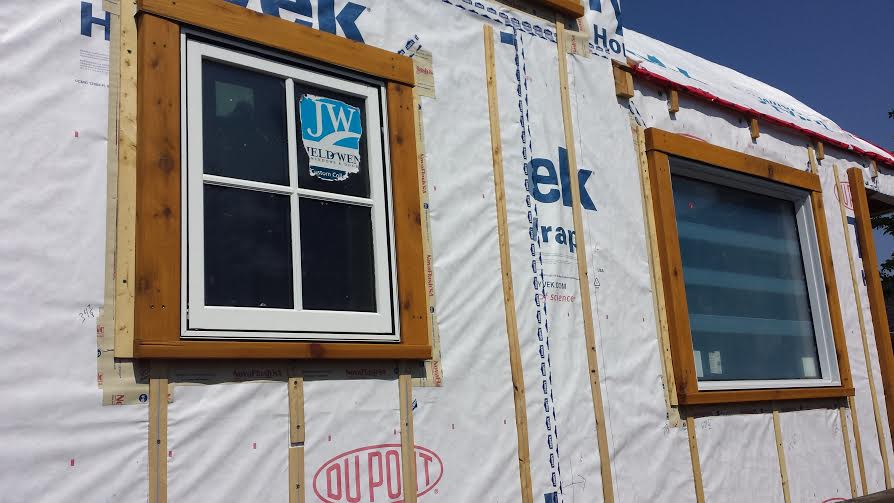
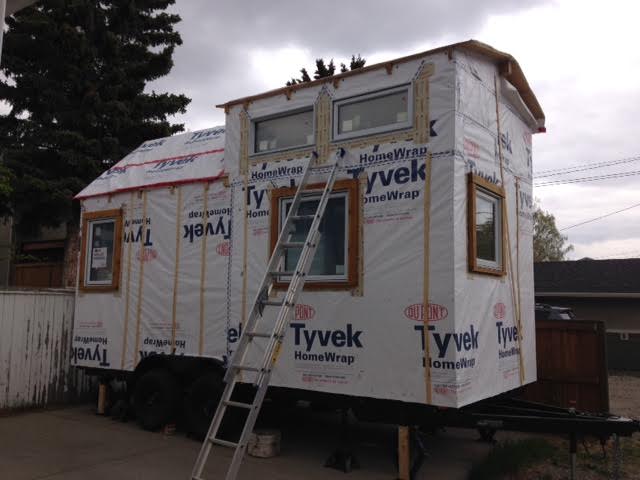
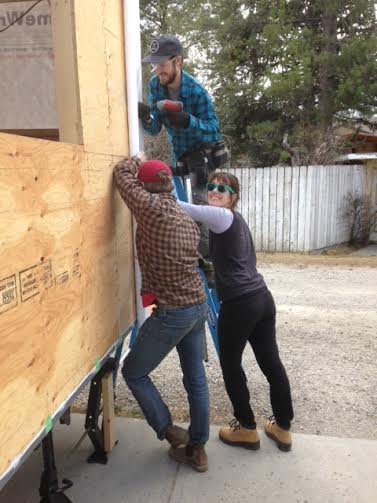
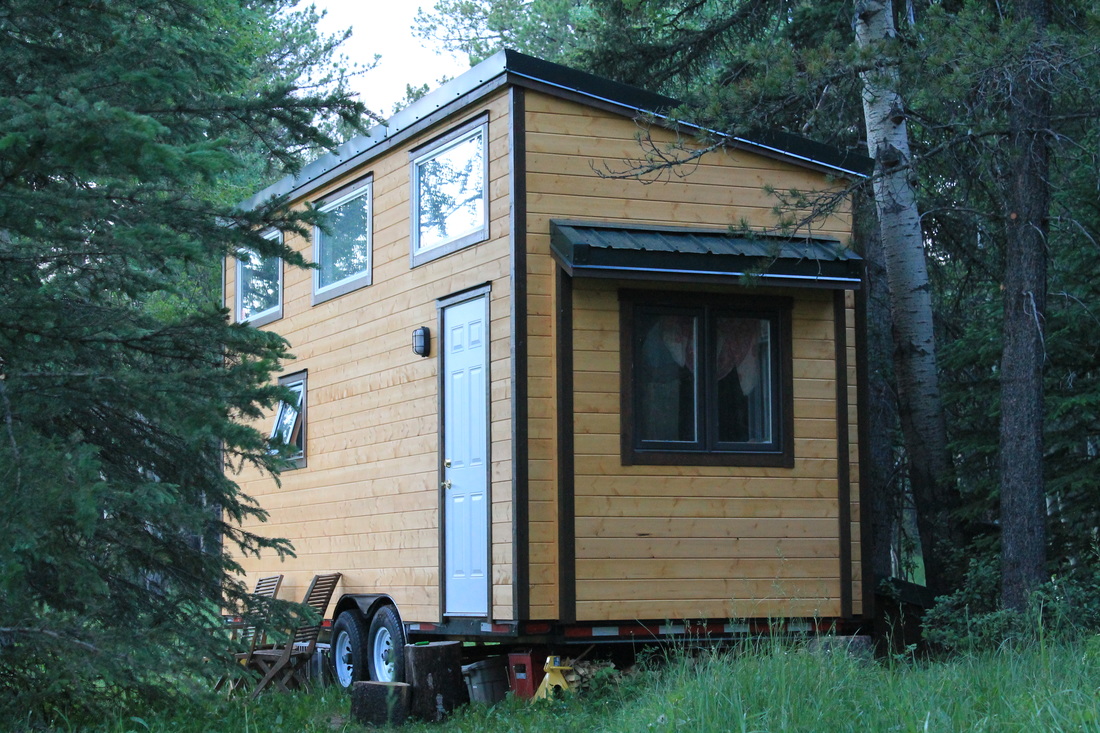
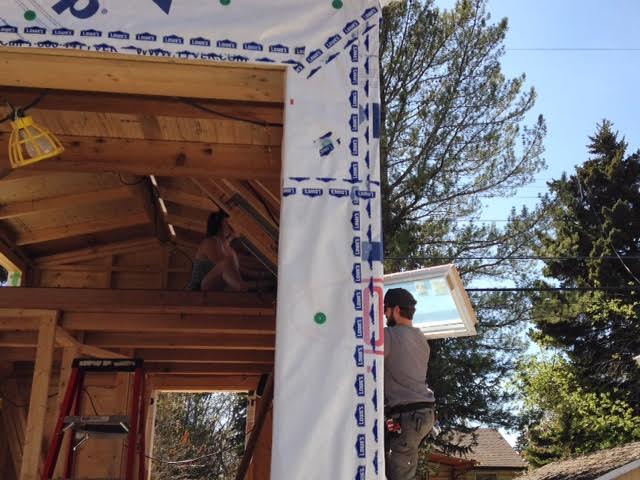
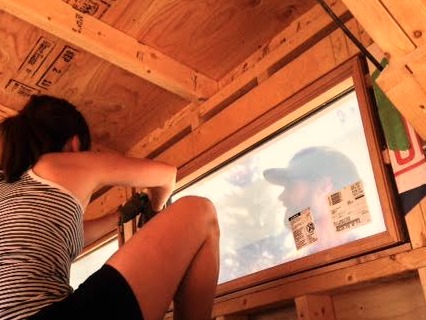
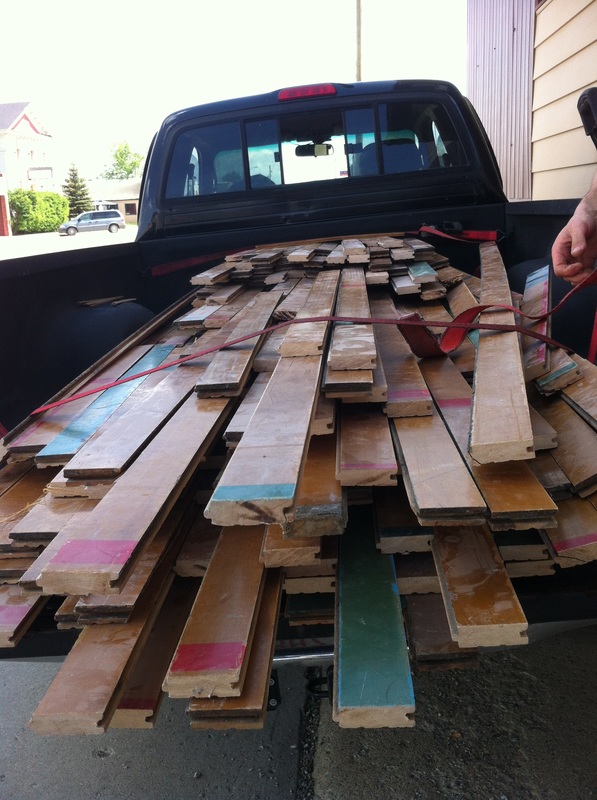
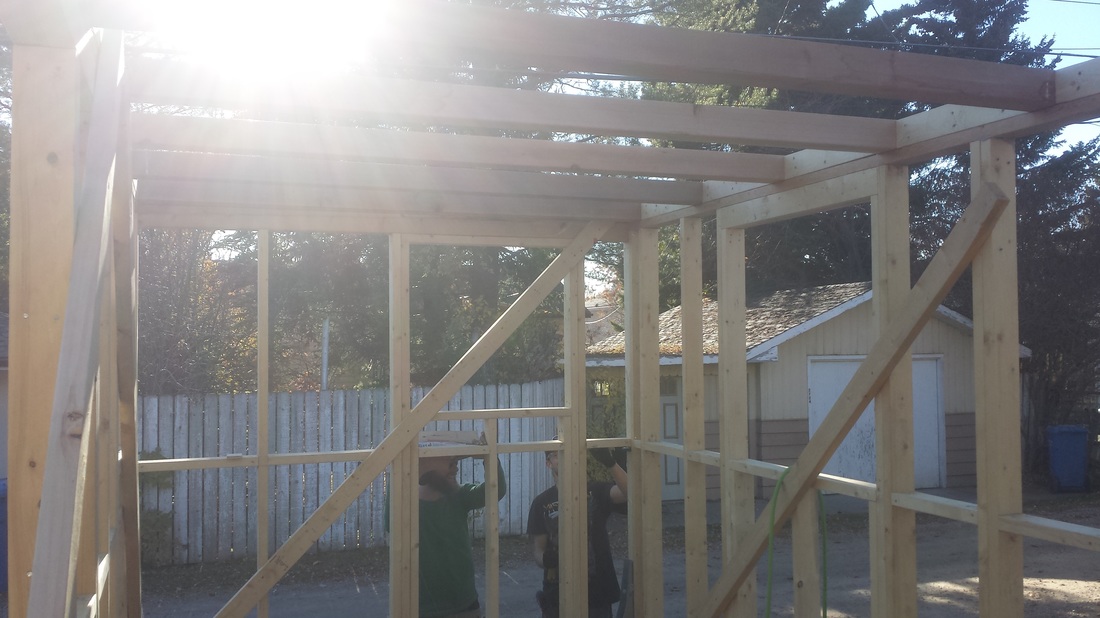
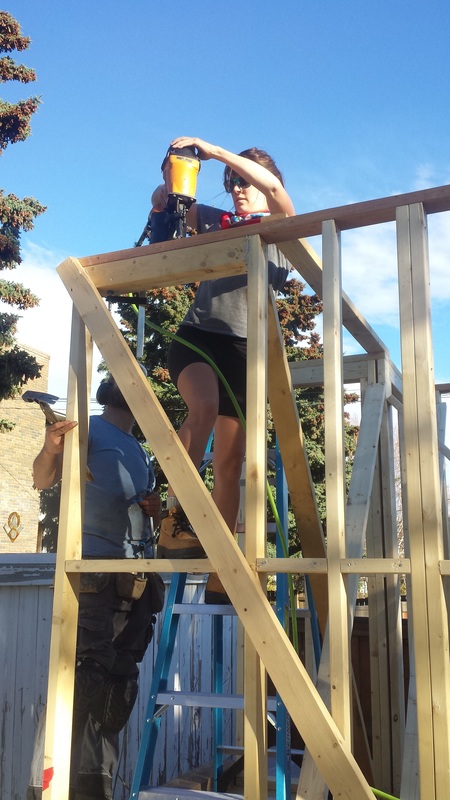
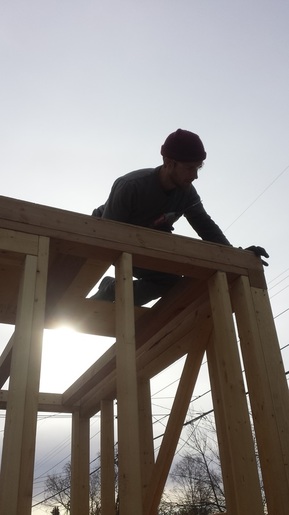
Before we could start installing our siding, we had to install our window trim and rain wall. For our window trim we decided on a design that includes a drip lip on the top as well as an angled bottom to encourage water to move down and out instead of in.

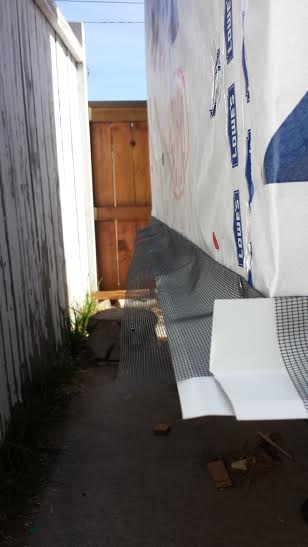
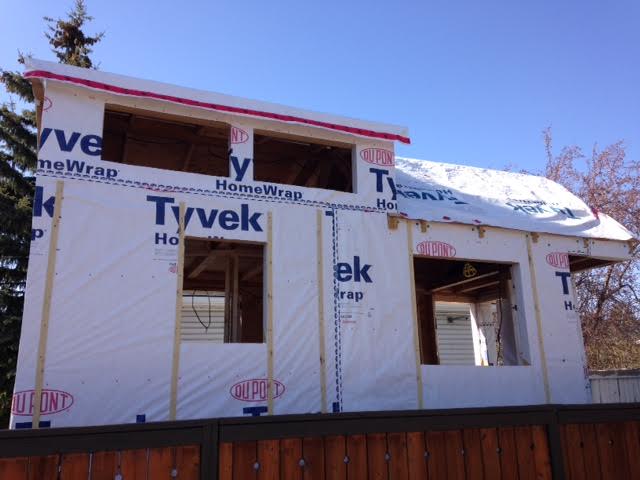
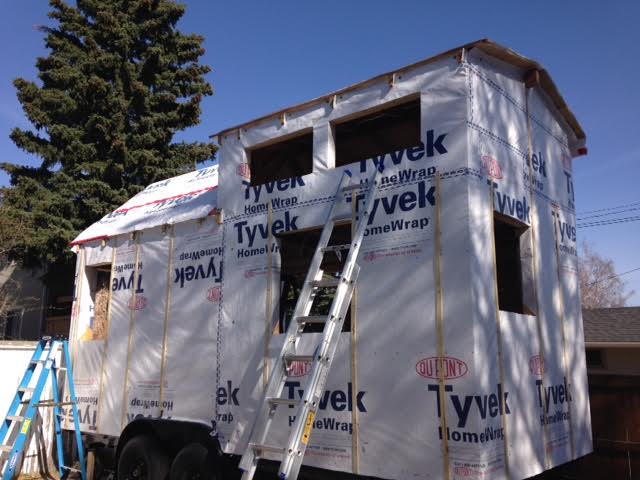
The next step was to add a drip lip and mesh around the bottom edges of the trailer. The drip lip is a precaution to block any moisture from the road from getting behind the siding while driving. The mesh is to prevent insects or pests from climbing up behind the siding. After pondering the best way to do this, we came up with the following method. (Please note, this worked with the application of beveled siding but may not work with other types of siding).
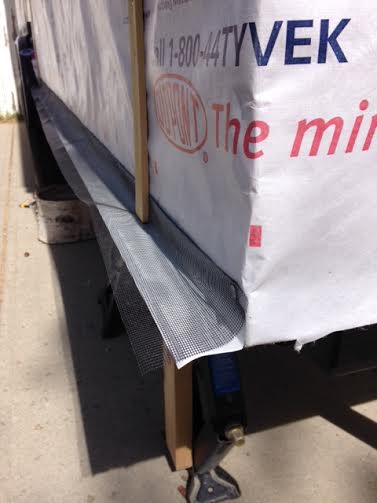
1.) Cut mesh to size ( we used nylon window screen repair mesh)
2.) Cut drip lip to length
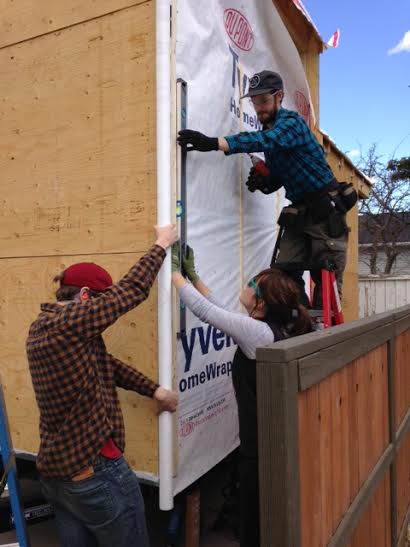
3.) Layer the mesh under the drip lip with about an inch of over lap. Using flathead roofing nails, hammer the drip lip (and mesh) around the rim of the house. The mesh will flop over the drip lip once installed.
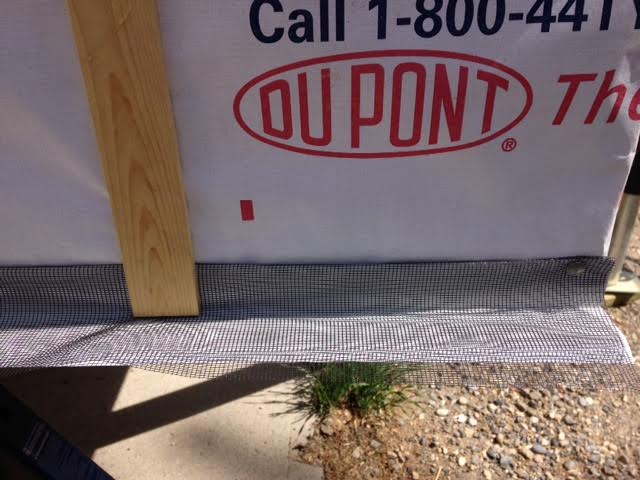
4.) Install furring strips over the mesh and the drip lip. Place these 1/4"- 1/2" from the drip lip to allow water to move off the lip without touching the mesh (for furring strips we cut down pine 2x4s using the table saw).
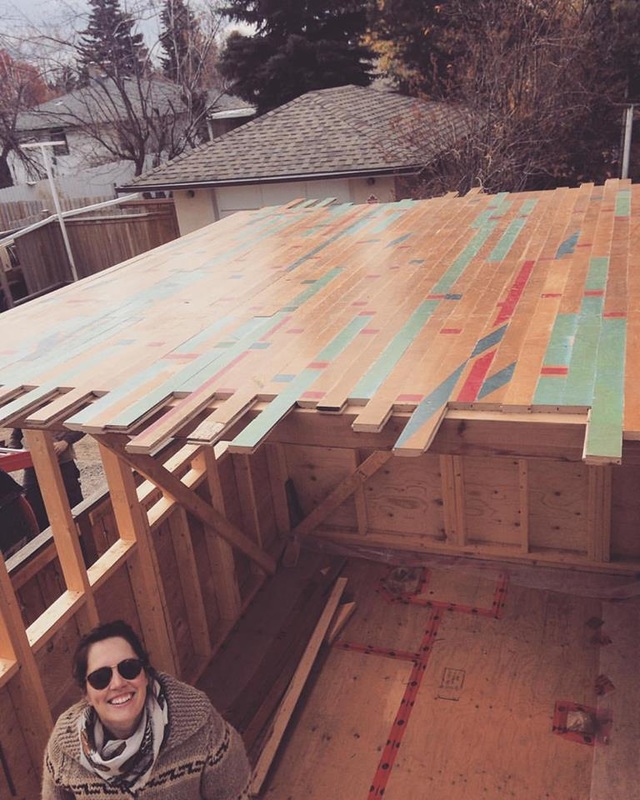
5.) (This step is not shown in the below photos) Before installing the first row of bevel, cut the top 1 1/4" off of a few pieces of bevel siding and place them horizontally along the bottom. These go flush with the bottom of the furring strips. These pieces of bevel create an angle which is then duplicated on every level of siding. If you don't do this, the first row would have a steeper angle than the rest. The bonus with this step is that it allows you to pinch the mesh between the 1 1/4" pieces and the first row of bevel siding.
Voila, you have a ventilated rain wall!
1.) Cut mesh to size ( we used nylon window screen repair mesh)
2.) Cut drip lip to length
3.) Layer the mesh under the drip lip with about an inch of over lap. Using flathead roofing nails, hammer the drip lip (and mesh) around the rim of the house. The mesh will flop over the drip lip once installed.
4.) Install furring strips over the mesh and the drip lip. Place these 1/4"- 1/2" from the drip lip to allow water to move off the lip without touching the mesh (for furring strips we cut down pine 2x4s using the table saw).
5.) (This step is not shown in the below photos) Before installing the first row of bevel, cut the top 1 1/4" off of a few pieces of bevel siding and place them horizontally along the bottom. These go flush with the bottom of the furring strips. These pieces of bevel create an angle which is then duplicated on every level of siding. If you don't do this, the first row would have a steeper angle than the rest. The bonus with this step is that it allows you to pinch the mesh between the 1 1/4" pieces and the first row of bevel siding.
Voila, you have a ventilated rain wall!
| To get around the wheel well was a bit trickier but was easier than we had anticipated. For this section, instead of a drip lip we used flexible metal to hold down the mesh. The drip lip is not necessary in this section because the wheel well itself prevents moisture from spraying behind the siding.. | 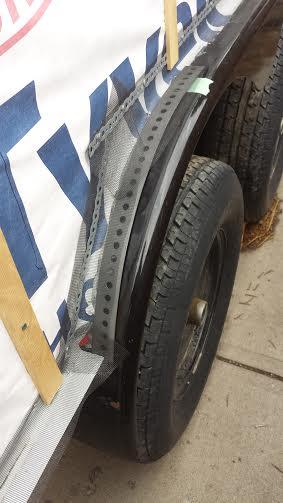 |
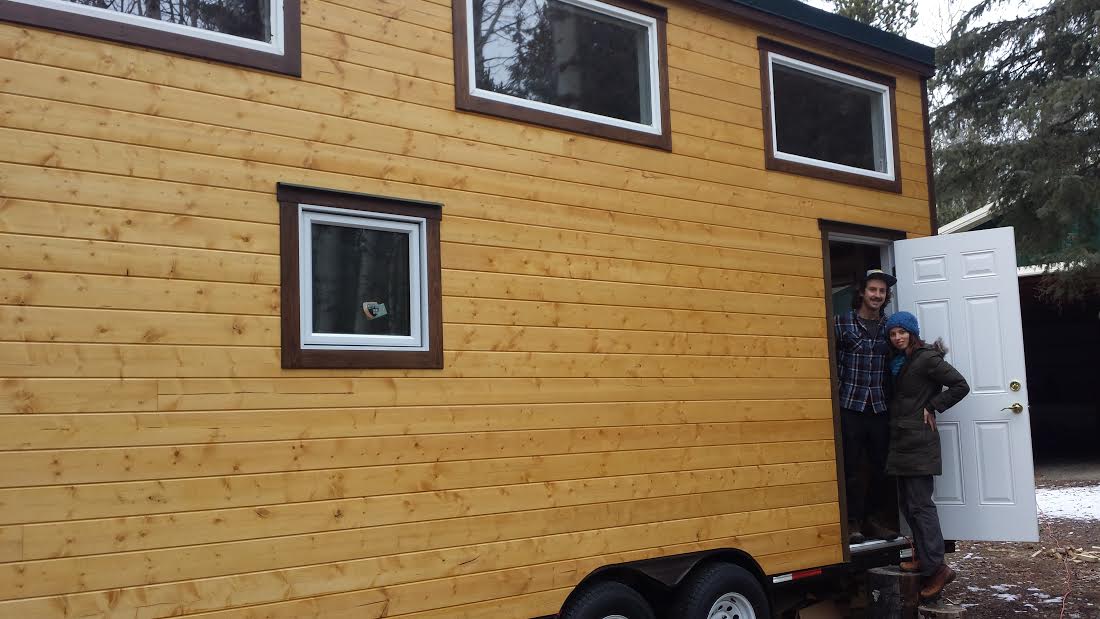
This method was inexpensive and refreshingly easy to install. We feel confident that it will serve our purposes.


 RSS Feed
